When I started my journey in coding, I often heard people talking about Git and GitHub. At first, it felt overwhelming. But once I learned what they are and how they work, I realized they’re not just tools, they’re essentials for every developer. In this blog post, I’ll explain version control, Git, and GitHub in the simplest way, and walk you through how to use them step by step.
What is Version Control?
Imagine you’re writing a document, and after every few changes, you save a copy so that if you make a mistake, you can go back. That’s exactly what version control does, but for your code.
Why do we need Version Control?
-
To track changes made in files over time.
-
To collaborate with others without messing up each other’s code.
-
To revert back to an older version if you make a mistake.
-
To work on multiple features or experiments without affecting the original project.
In simple terms, version control is like a time machine for your code.
Types of Version Control Systems
There are mainly three types of version control systems:
1. Local Version Control System (LVCS)
For example,
Imagine you’re writing an assignment on your laptop. After making changes, you save multiple copies of the same file, such as:
-
assignment_draft.doc
assignment_final_v1.doc
assignment_final_v2.doc
All of these are saved locally. If your laptop crashes or the hard drive fails, you lose all of them. Plus, if you want to share your progress, you have to send the file manually every time.
This is how a Local Version Control System works, it's simple but very risky and not efficient for collaboration.
Example Tool
-
RCS (Revision Control System): An early tool that stores changes as differences between file versions.
RCS (Revision Control System): An early tool that stores changes as differences between file versions.
Advantages
-
Works offline.
-
Simple to use for small personal tasks.
Works offline.
Simple to use for small personal tasks.
Limitations
-
No teamwork: Only you have access.
-
Risk of data loss: If the machine crashes, everything is gone.
-
Manual effort: No automation or collaboration.
-
Hard to track changes: Especially when projects get larger.
No teamwork: Only you have access.
Risk of data loss: If the machine crashes, everything is gone.
Manual effort: No automation or collaboration.
Hard to track changes: Especially when projects get larger.
Best For
-
Basic solo projects (not recommended in today’s modern development world).
Basic solo projects (not recommended in today’s modern development world).
2. Centralized Version Control System (CVCS)
A Centralized Version Control System has a central server where all files and version history are stored. Developers or team members access the central server to pull the latest version and push changes back.
All communication happens through the server. If two people make changes at the same time, the server coordinates the changes.
For example,
Think of a Google Docs file shared with your team. Everyone is working on the same file stored on Google’s server. If someone edits it, the change is seen by all.
But if Google’s server goes down, nobody can view or edit the file. That’s the weakness of a centralized system, one central server is the lifeline.
Example Tools
-
CVS (Concurrent Versions System)
-
Subversion (SVN)
-
Perforce
CVS (Concurrent Versions System)
Subversion (SVN)
Perforce
Advantages
-
Everyone works on the same version, "single source of truth".
-
Easy to manage permissions and access.
-
Suitable for simple collaboration.
Everyone works on the same version, "single source of truth".
Easy to manage permissions and access.
Suitable for simple collaboration.
Limitations
-
Single point of failure: If the server crashes, everything halts.
-
Requires internet: You can't work offline effectively.
-
Slower for large teams: Server bottlenecks may happen.
Single point of failure: If the server crashes, everything halts.
Requires internet: You can't work offline effectively.
Slower for large teams: Server bottlenecks may happen.
Best For
-
Teams with stable internet and small to medium collaboration needs.
-
Environments with strict control and centralized workflows (e.g., some corporate systems).
Teams with stable internet and small to medium collaboration needs.
Environments with strict control and centralized workflows (e.g., some corporate systems).
3. Distributed Version Control System (DVCS)
In a Distributed Version Control System, every contributor gets a full copy of the repository, including the entire history of changes. You don’t just download the latest snapshot, you download the whole timeline.
You can work offline, make changes, commit them locally, and later push the changes to a remote repository to share with others.
This makes it highly resilient, fast, and ideal for both individual developers and massive open-source projects.
For example,
Imagine a team writing a book, but instead of editing one shared Google Doc (centralized), each person gets a full printed copy of the book to edit. They can add chapters, fix grammar, or make suggestions independently.
Later, everyone meets to merge the best changes into one master copy.
Even if someone loses their copy, others still have everything, nothing is lost.
Example Tools
-
Git (used by GitHub, GitLab, Bitbucket)
-
Mercurial
-
Bazaar
Git (used by GitHub, GitLab, Bitbucket)
Mercurial
Bazaar
Advantages
-
Offline Work: Make commits, view history, and review changes without internet.
-
Fast: Operations like commit, diff, and log are very fast.
-
Backup Friendly: Everyone has a full version of the codebase.
-
Powerful Branching and Merging: Supports experimentation and parallel development.
-
Popular for Open Source: Makes collaboration easy.
Offline Work: Make commits, view history, and review changes without internet.
Fast: Operations like commit, diff, and log are very fast.
Backup Friendly: Everyone has a full version of the codebase.
Powerful Branching and Merging: Supports experimentation and parallel development.
Popular for Open Source: Makes collaboration easy.
Challenges
-
Merge Conflicts: Can happen if multiple people change the same file.
-
Learning Curve: Git, especially, has a steep learning curve for beginners.
Merge Conflicts: Can happen if multiple people change the same file.
Learning Curve: Git, especially, has a steep learning curve for beginners.
Best For
-
Individuals, teams, and open-source communities.
-
Any modern development project, big or small.
Individuals, teams, and open-source communities.
Any modern development project, big or small.
Now Let’s Learn About Git and GitHub
Git and GitHub are two of the most essential tools in a developer's toolbox. Whether you are a beginner or planning to contribute to large-scale projects, understanding these tools is crucial for version control, collaboration, and efficient coding.
But before we dive into commands, let’s first understand the basic workflow architecture:
Step-by-Step Workflow: From Folder to GitHub
1. Working Directory (Untracked files)
When you create a folder and start adding files (like .html, .py, .java), you are in the Working Directory. This is where you write and modify your code.
Example:
mkdir my-project
cd my-project
touch index.html
At this stage, your files are not yet tracked by Git.
2. Staging Area (Index)
The Staging Area is like a "preparing zone" before final submission. When you feel a file is ready to be saved in Git’s history, you add it to the staging area.
Why Use It?
You might change 5 files, but only want to save 2 in the next snapshot (commit). The staging area gives you that control. Because, we cannot commit selected files without the use of staging area. Commit command sends entire files in the staging area into the local repo at a time. So, at first we can add the files that we wanna save, into the staging area and then we can use commit.
Command: git add index.html
You can add all changed files using: git add .
Now index.html is staged and ready to be committed.
3. Local Repository (Committed)
When you commit, you’re saving the staged snapshot into your local repository (your computer).
Command: git commit -m "Initial commit"
Why Commit?
This creates a permanent version of your code, with a message explaining what you did.
You can see your commit history with: git log
4. Remote Repository (GitHub)
Once you’re ready to share or back up your project, you push it to a remote repo like GitHub.
Commands:
git remote add origin https://github.com/your-username/your-repo.git
git push -u origin main
origin = nickname for GitHub repo
main = your branch name
Understanding Git and GitHub
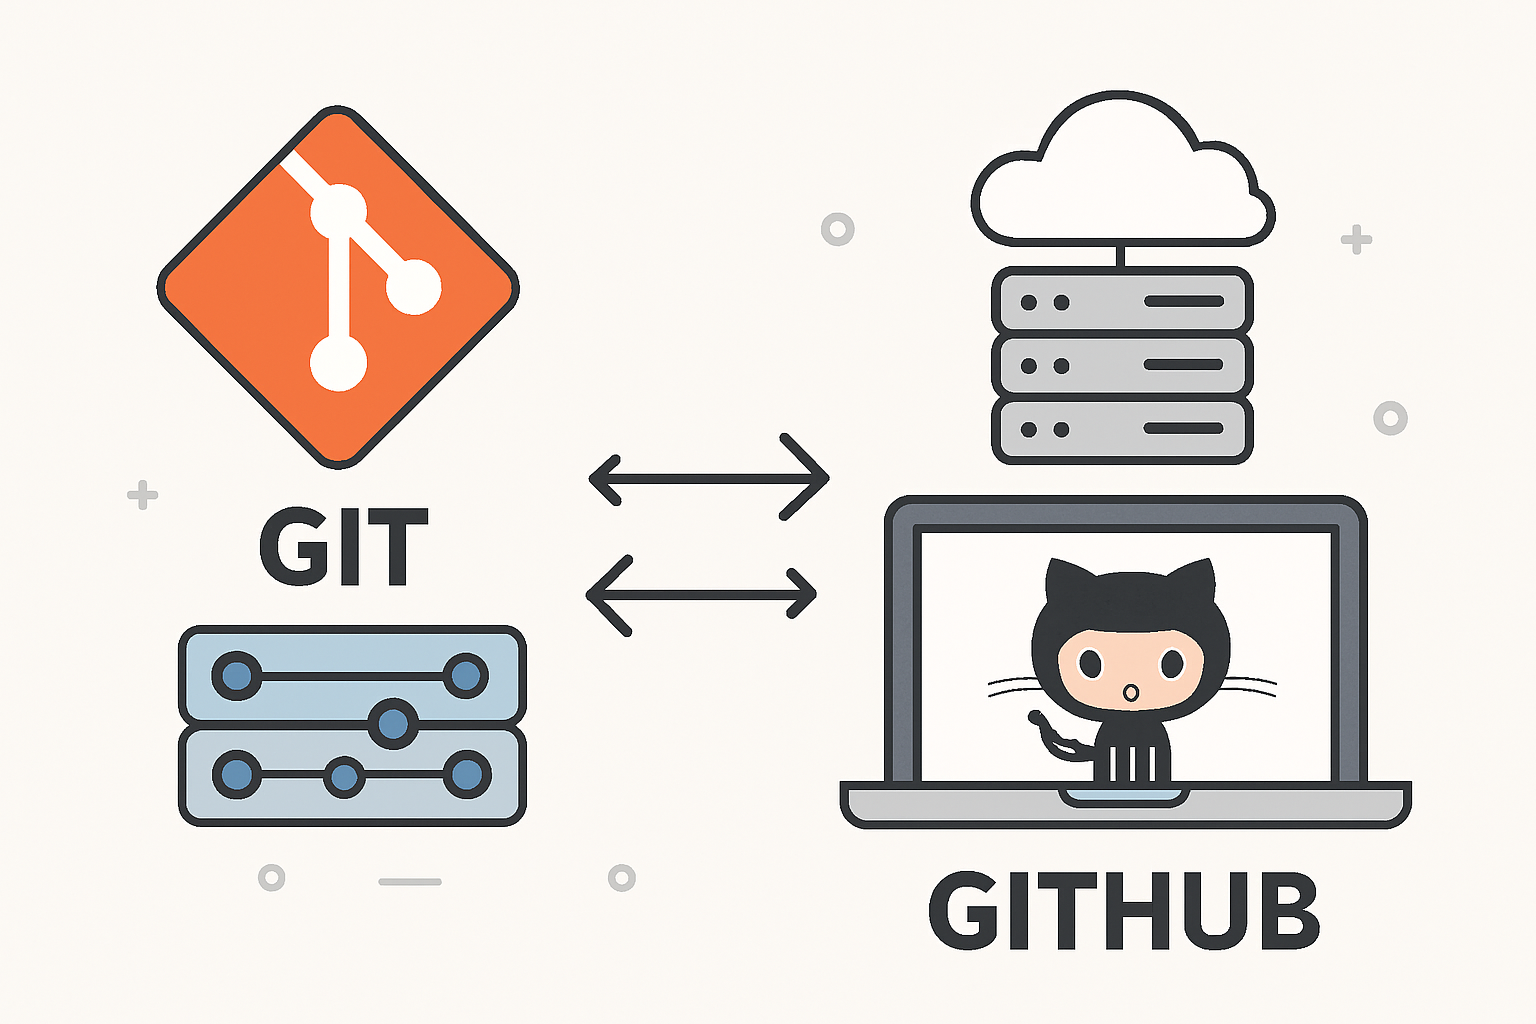
What is Git?
Git is a distributed version control system. It lets you track changes to your code, roll back when needed, and work on multiple versions of a project.
- Created by Linus Torvalds (the creator of Linux)
- It works offline on your machine.
- Used via commands in the terminal.
What is GitHub?
GitHub is a cloud-based hosting service for Git repositories. It lets you:
-
Store your code online
-
Collaborate with teams
-
Contribute to open source
-
Manage issues, wikis, and documentation
Basic Git Commands with Examples
1. git init: Initialize Git in a folder
Creates a hidden .git folder that starts tracking the project.
2. git status: See current changes
Shows which files are staged, modified, or untracked.
3. git add: Move file to staging area
4. git commit: Save to local repoMessage helps others understand what changed.
5. git remote add: Link to GitHub
6. git push: Upload to GitHub
7. git pull: Download from GitHub
Keeps your local code updated with the remote.
8. git clone: Copy a GitHub repo to your system
Use .gitignore to avoid uploading unnecessary or sensitive info files.
What is .gitignore?
.gitignore is a special file used in git to tell it which files or folders it should ignore, i.e., not track or upload to your GitHub repository.
Why Use .gitignore?
When working on a project, there are many files that:
-
Are auto-generated by the system (like node_module / in Node.js)
-
Contain sensitive info (like .env files with API keys)
-
Are temporary or local (like .log, .DS_Store, or IDE config files)
These files:
-
Don’t need to be shared
-
Should not be pushed to GitHub
-
May expose private data or make the repo heavy
So, we tell Git:
"Hey Git, ignore these files. Don’t track or push them".
How to Use .gitignore
-
Create a file called .gitignore in your project root folder.
-
Add the names or patterns of files/folders to ignore.
Example .gitignore:
node_modules/
.env
*.log
.DS_Store
.idea/
Meaning:
-
Ignore everything inside node_modules/
-
Ignore .env file (secrets!)
-
Ignore all .log files
-
Ignore .DS_Store (macOS system file)
-
Ignore .idea/ (JetBrains IDE settings)
Comments
Post a Comment